Themes and screen types
Two ScriptableObjects set the look, and emulation ignores both:
- A Terminal Theme on the session holds the font, colors, and cursor: what the session draws with.
- A Terminal Screen Type on each screen holds the filtering and the display effect: how that screen shows the picture. A screen with none is a sharp flat copy, so a desk CRT and a flat HUD can show one session two ways.
Create either under Assets, Create, Terminal, or start from a preset.
| Theme preset | Gives |
|---|---|
| Clean LCD | Light gray text on near black |
| Green Phosphor | Green text on dark green |
| Amber Phosphor | Amber text on dark brown |
| Screen type preset | Gives |
|---|---|
| Flat | No effect, Point filtering: a panel, a HUD, a window |
| Green CRT, Amber CRT | A curved tube with scanlines and glow, tinted so every color takes the phosphor’s hue |
| Color CRT | A flat-faced tube with scanlines, an aperture grille, and color fringes |
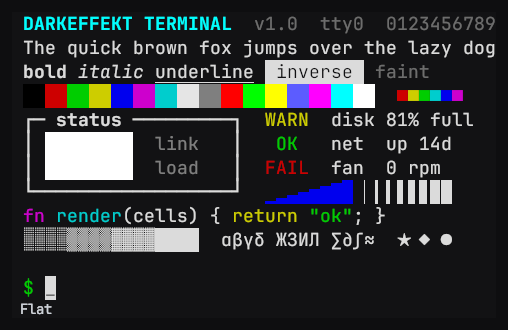
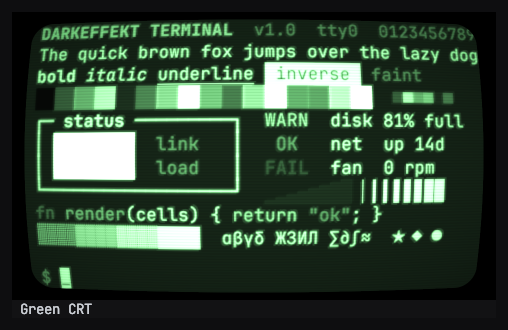
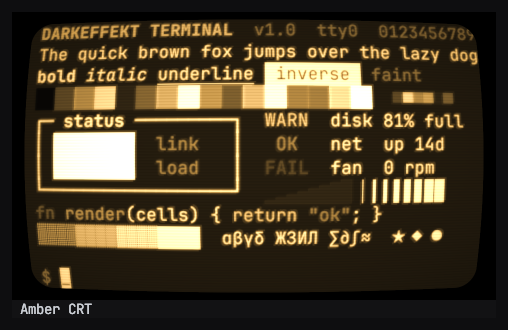
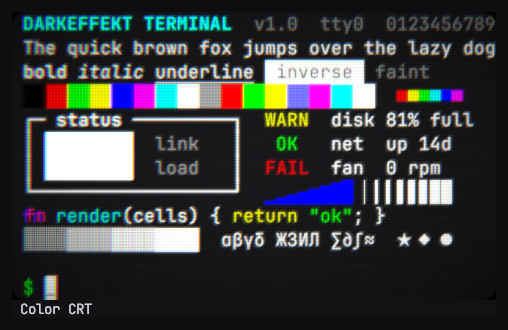
Pair a phosphor theme with the CRT of the same color for a monochrome monitor, and Clean LCD with Flat or Color CRT to keep the host’s colors. A phosphor theme sets the default text color only; the phosphor mapping on its CRT is what pulls the host’s other colors to one hue.
The same presets come from script, as new instances:
session.Theme = TerminalThemePresets.AmberPhosphor();screen.ScreenType = TerminalScreenTypePresets.AmberCrt();Which asset a setting belongs to
Section titled “Which asset a setting belongs to”A theme is per session: every screen showing that session draws the same font and colors. A screen type is per screen. To show one session as a CRT on a desk and as a sharp panel in a HUD, give the two screens different screen types. To give two terminals different colors, give their sessions different themes.
Seeing the look while you edit
Section titled “Seeing the look while you edit”In the Project window, a theme’s thumbnail shows its font and colors, and a screen type’s shows its effect. The Inspector’s preview pane shows the same picture larger, and follows your edits.
Outside Play mode, the Scene and Game views show each screen with its theme and screen type applied to sample content: the demo shell’s opening screen and its color chart. Edit either asset in the Inspector and the screens follow, font settings included. The preview belongs to the editor; none of it is saved with the scene. In Play mode a session shows what its connection sends.
Changing the look during play
Section titled “Changing the look during play”Colors, cursor, and every screen type setting apply while the session runs:
edit the asset in the Inspector or from a script and the screen follows. A
color change shows at the next redraw, at most about half a second later; call
session.Renderer.SetDirty() to redraw at once.
The Font settings are read when the session starts. During play, call
session.SetFontSize(pixels) for the size, which leaves the asset alone, or
session.RebuildRenderer() after changing the font.
- Font is a monospace font asset. Leave it empty to use the bundled JetBrains Mono.
- Os Font Names are installed fonts to try, in order, when no font asset is set. Leave the list empty for the same text on every platform.
- Font Size is the starting cell size in pixels, and so the render resolution.
The bundled font covers Latin, Greek, Cyrillic, box drawing, and common
symbols. For Chinese, Japanese, or Korean text, a desktop or a phone borrows
the glyphs from a system font. A WebGL player has no system fonts, so there
the glyphs have to come from a font in the project: import one, add its
family name to Font Names on your monospace font’s import settings, and
assign that font to the theme. The Demo sample’s Fonts folder is set up
this way.
session.SetFontSize(pixels) changes the cell size for that session and
rebuilds the render target; the grid dimensions do not change. See Grid, render, and display
size.
Colors
Section titled “Colors”- Foreground, Background, and Cursor Color are the defaults.
- Ansi Override replaces palette entries 0 through 15; leave it empty for the xterm defaults. Entries 16 through 255 are the standard xterm cube and gray ramp.
- Bold Uses Bright Colors maps bold text on a standard color to its bright counterpart, the classic 16-color terminal behavior.
Cursor
Section titled “Cursor”- Cursor Blink and Cursor Blink Interval control the blink. The host can also set the cursor shape (block, underline, or bar) through an escape sequence.
The display effect
Section titled “The display effect”These are the Terminal Screen Type settings, which the presets above are made of. Every effect at zero is a sharp flat blit, so one asset type serves a clean LCD and a full CRT. The screen shader applies them at display time, so the text underneath stays sharp.
The clips below flash.
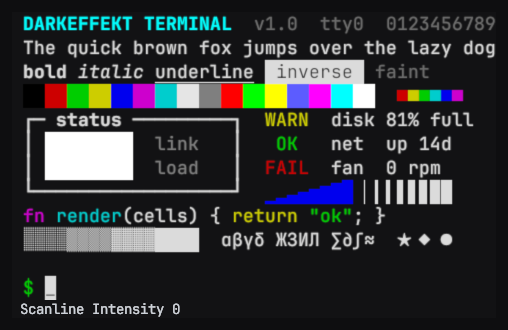
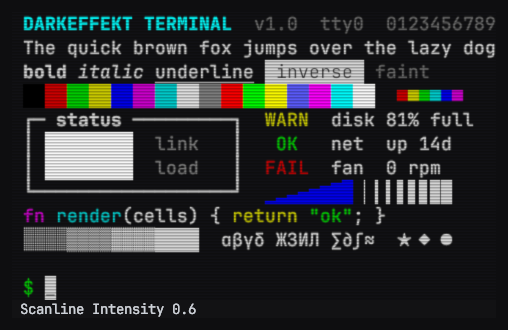
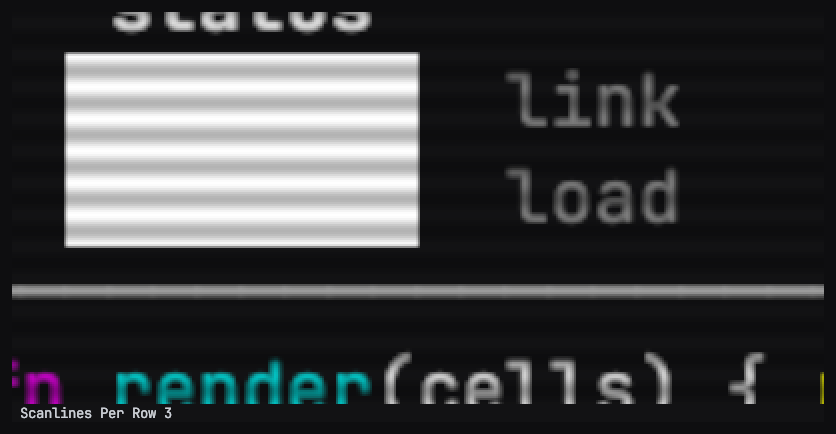
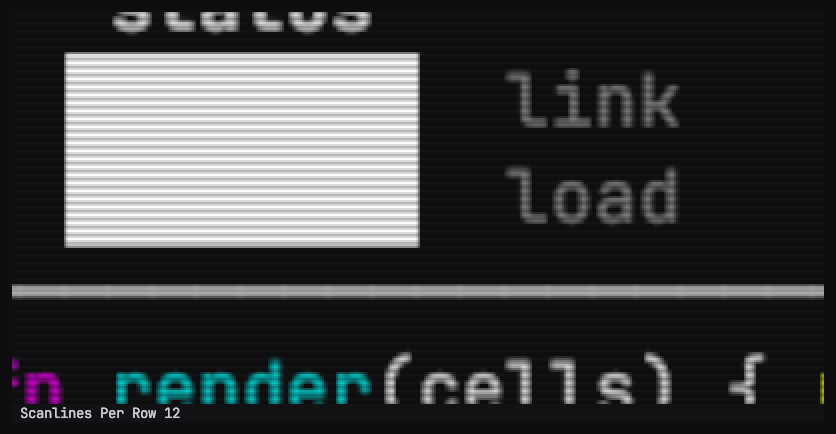
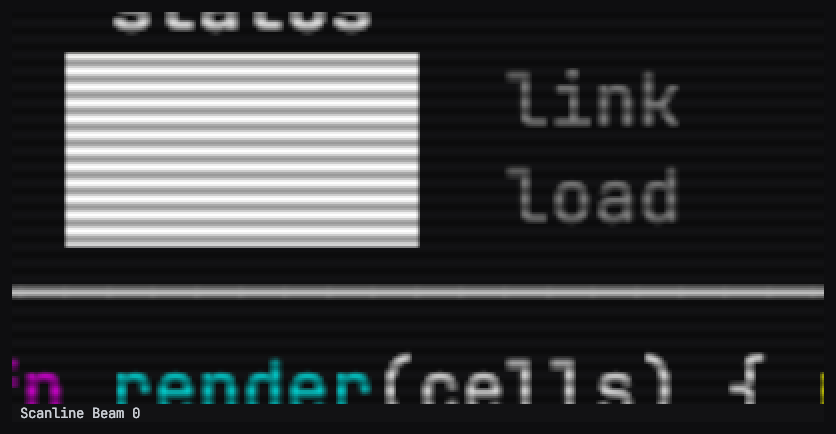
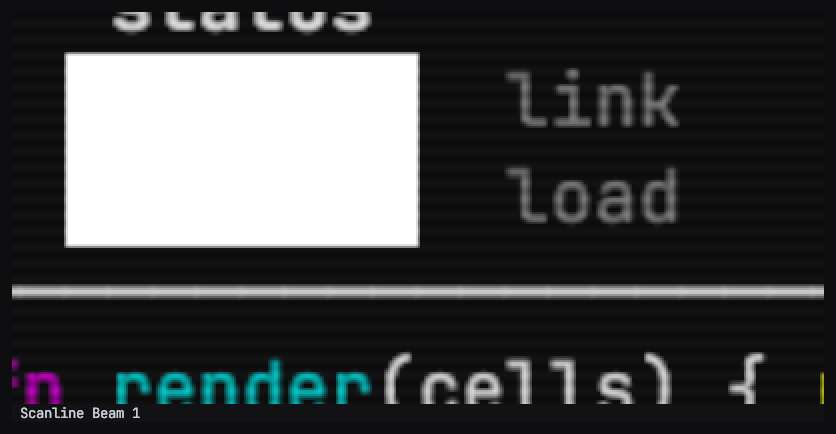
- Scanline Intensity: dark lines across the picture. Scanlines Per Row is about how many cross one row of text, so the look holds at any font size. A line shows once it covers two display pixels; finer than that, the lines dim the screen evenly, so lower the count for a small font in a flat view. Scanline Beam lets bright content fill the gaps, as a wide beam does, so the lines show most in dark areas.
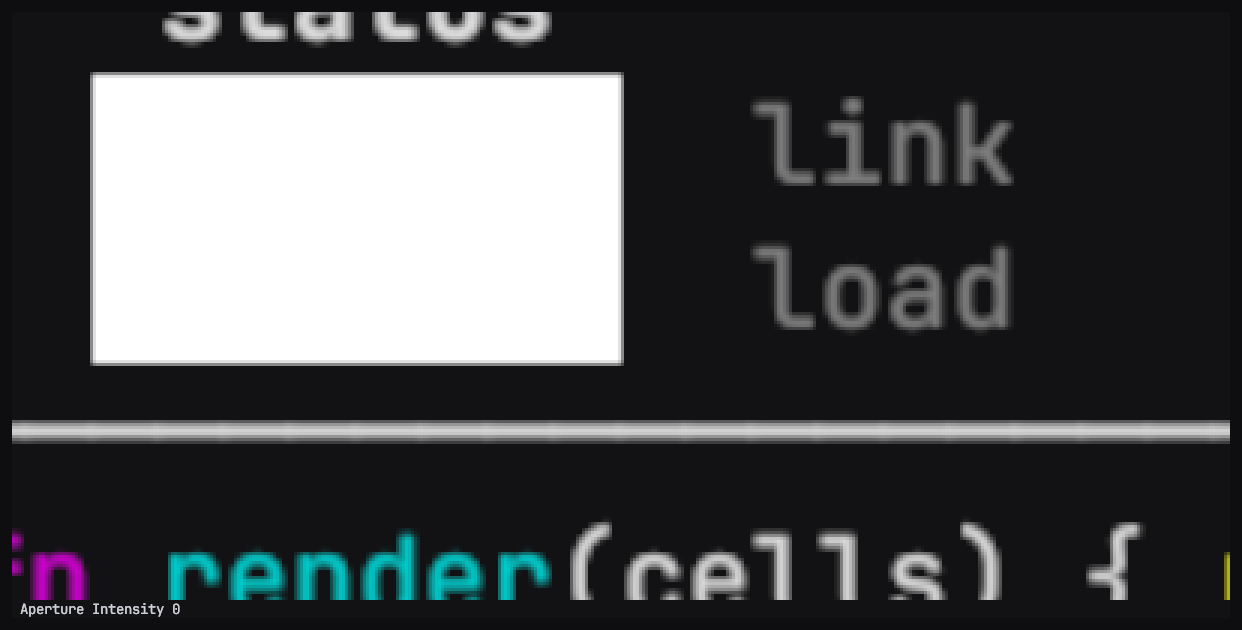
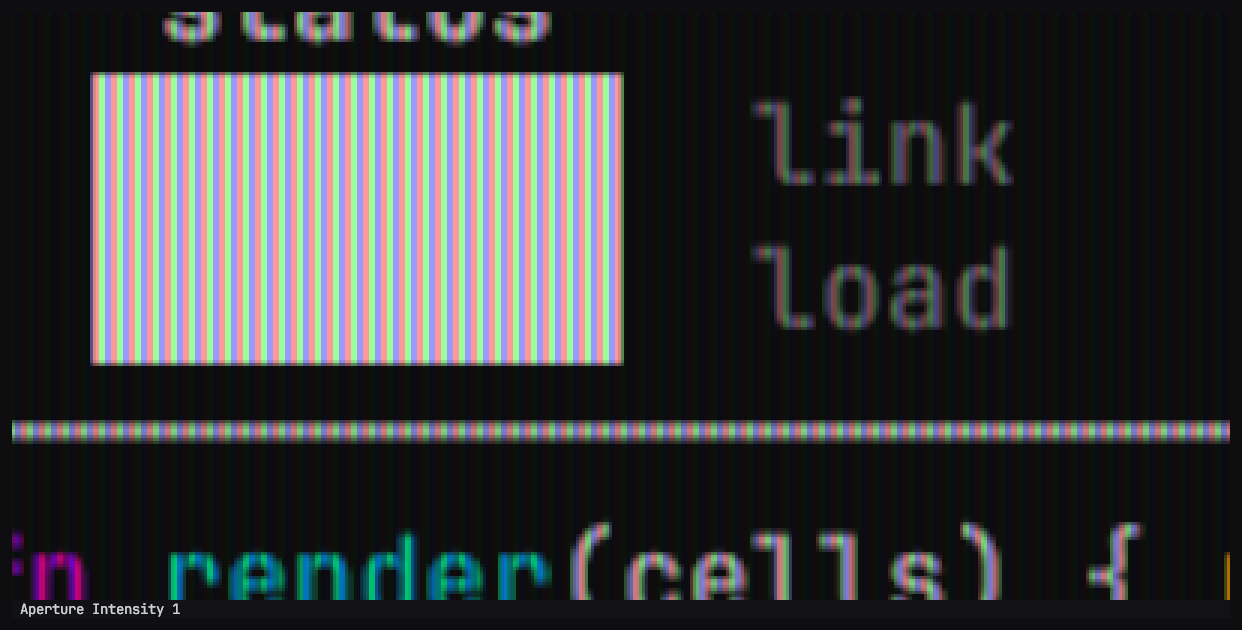
- Aperture Intensity: a red, green, and blue mask, one stripe per grid pixel. Mask Style is Grille for straight stripes or Slot for staggered segments, as on a consumer TV.
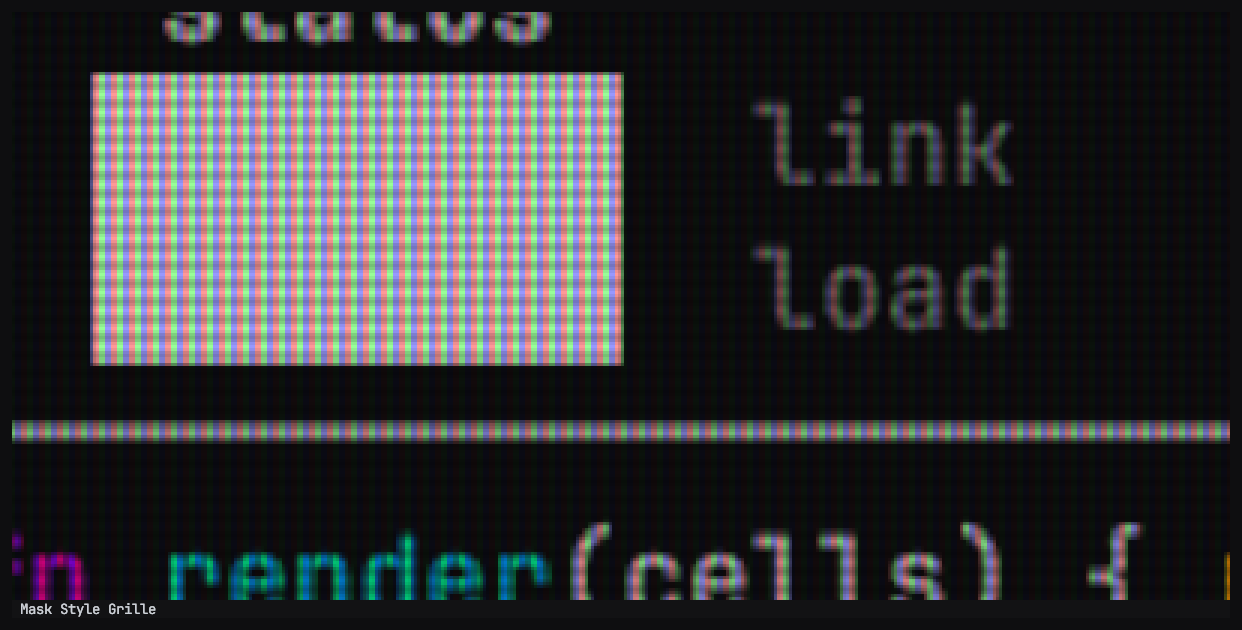
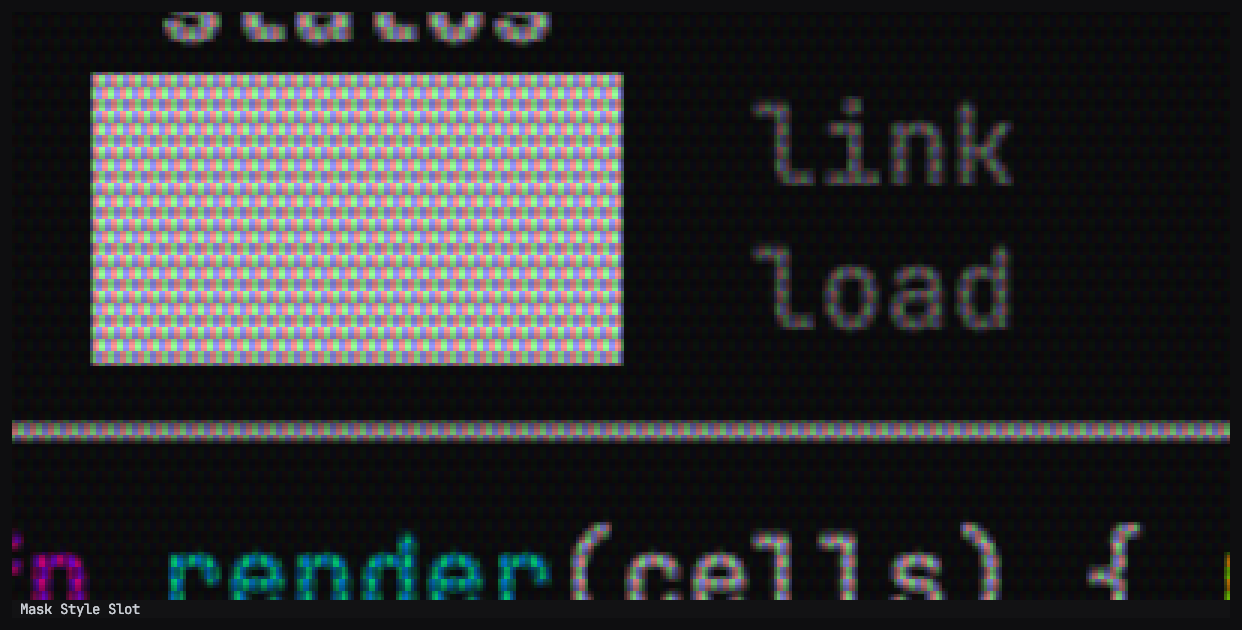
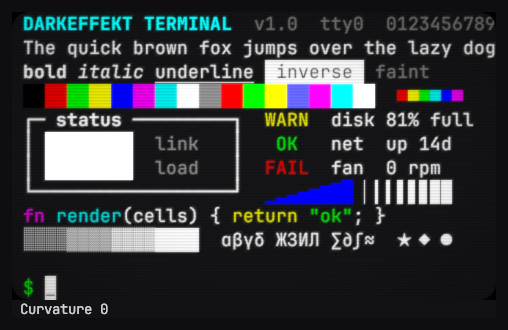
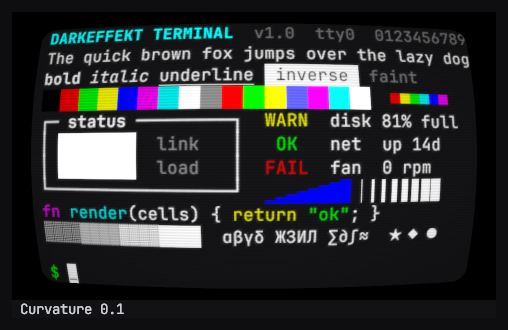
- Curvature: barrel distortion. Pointer hit testing follows the same warp, so clicks still land on the cell they appear to touch. Corner Radius rounds the face’s corners.
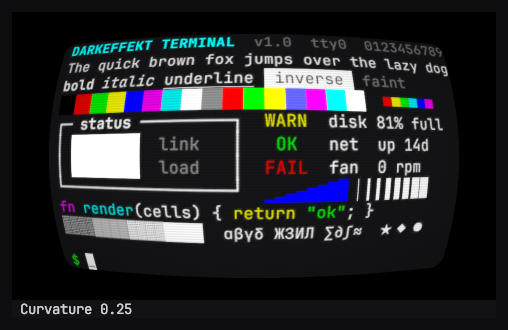
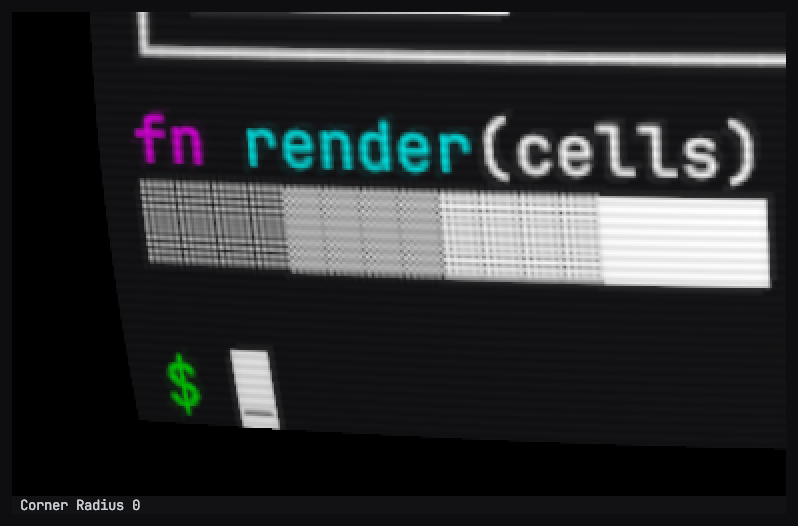
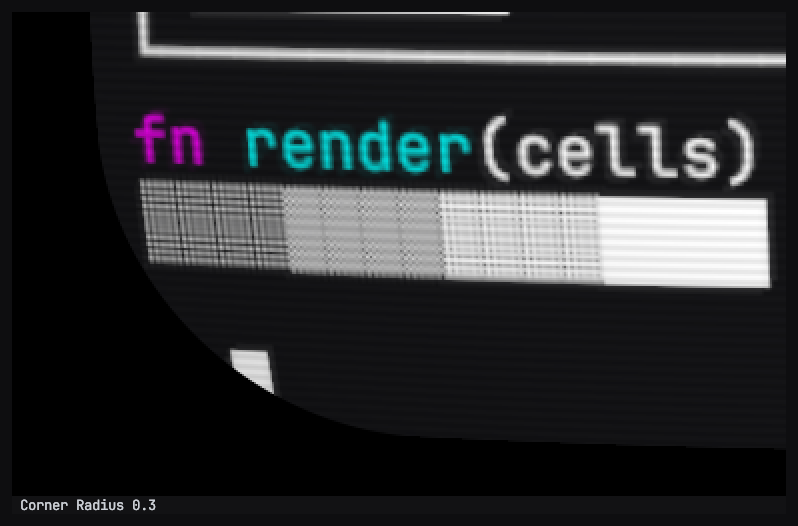
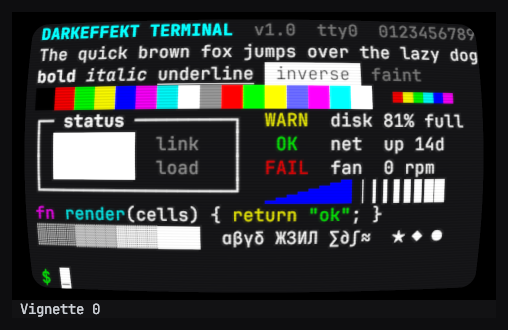
- Vignette, Glow: darkened corners and phosphor bloom.
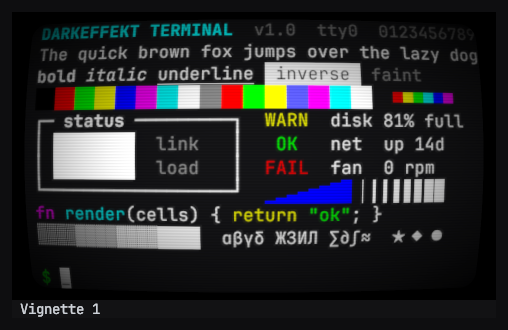
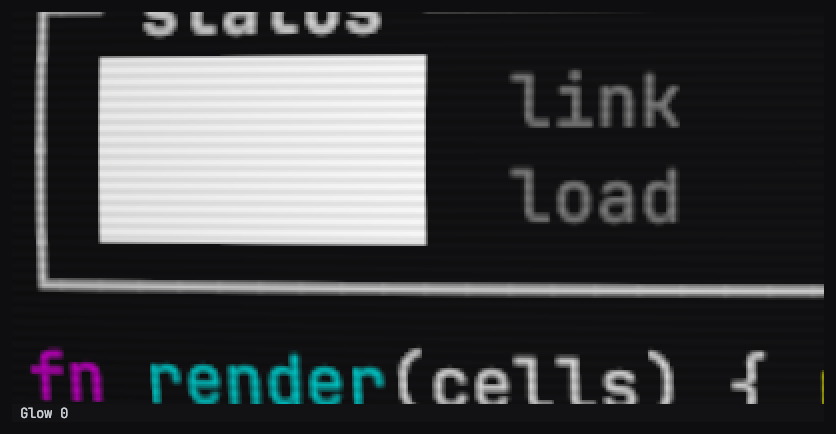
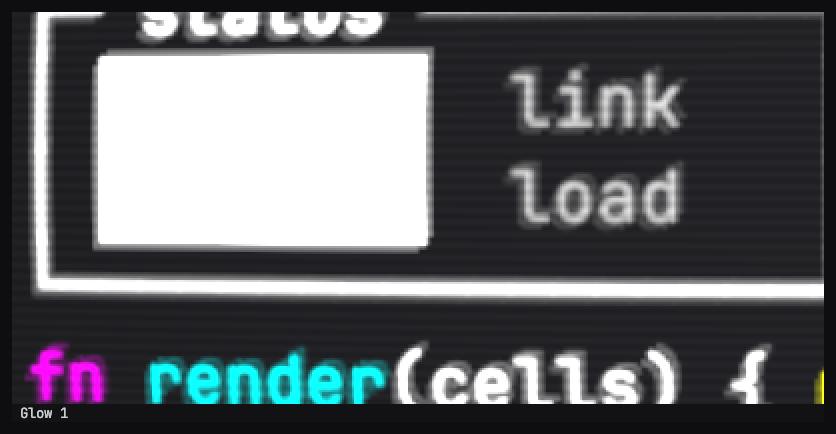
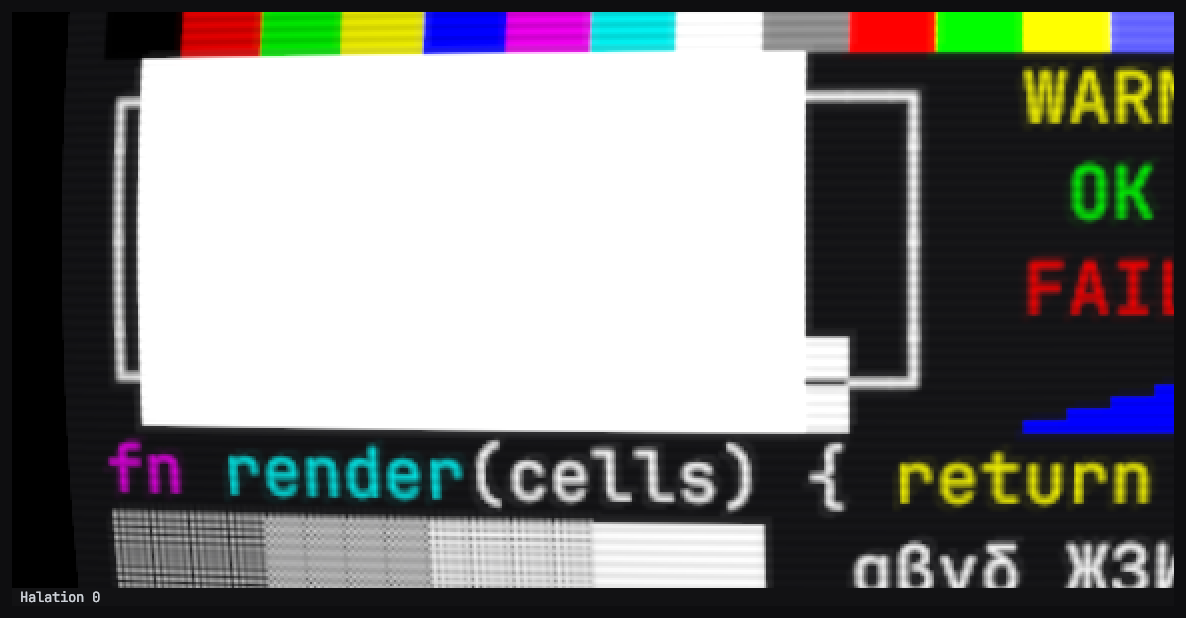
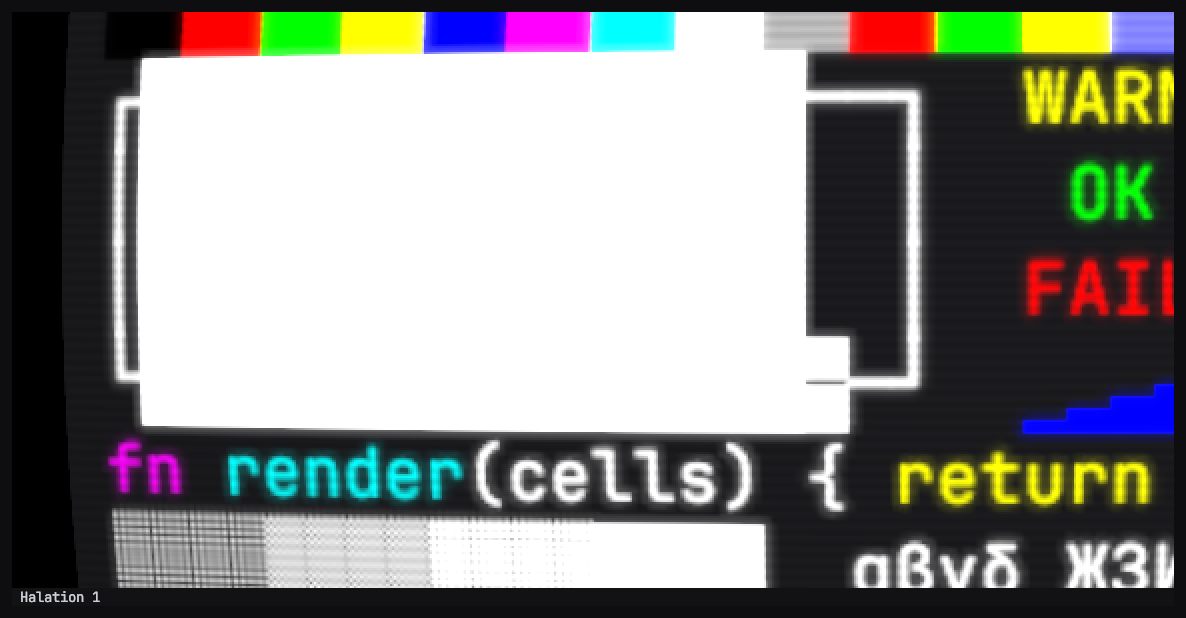
- Halation: a wide haze around lit areas, from light scattering in the glass, spilling across the scanlines and the mask.
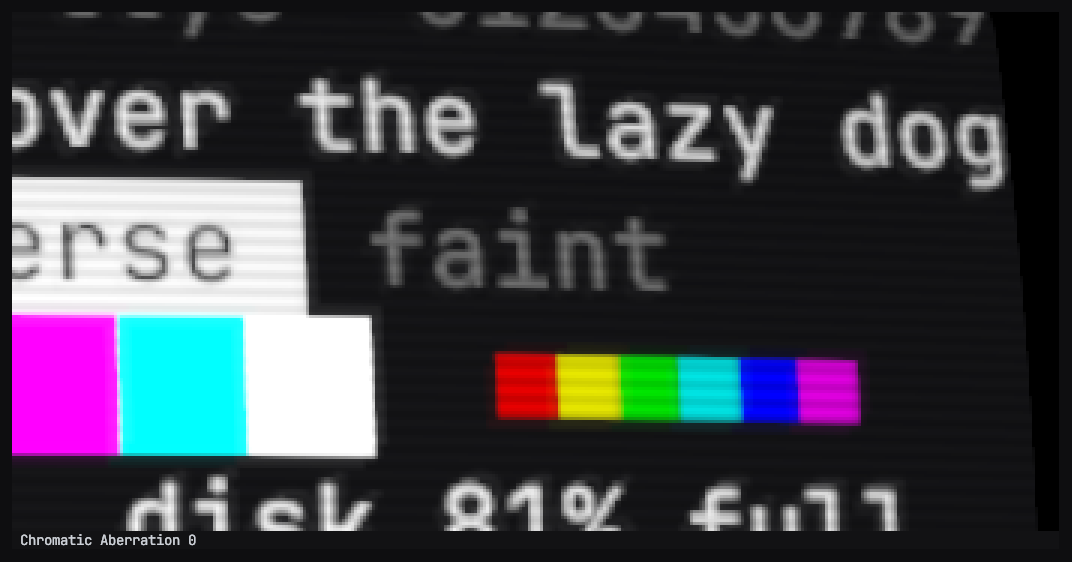
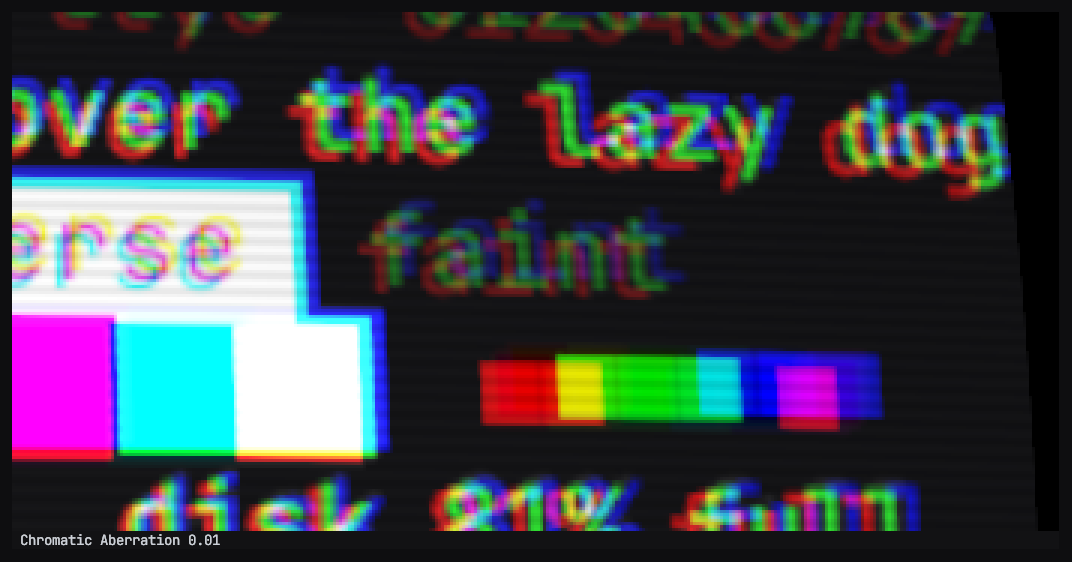
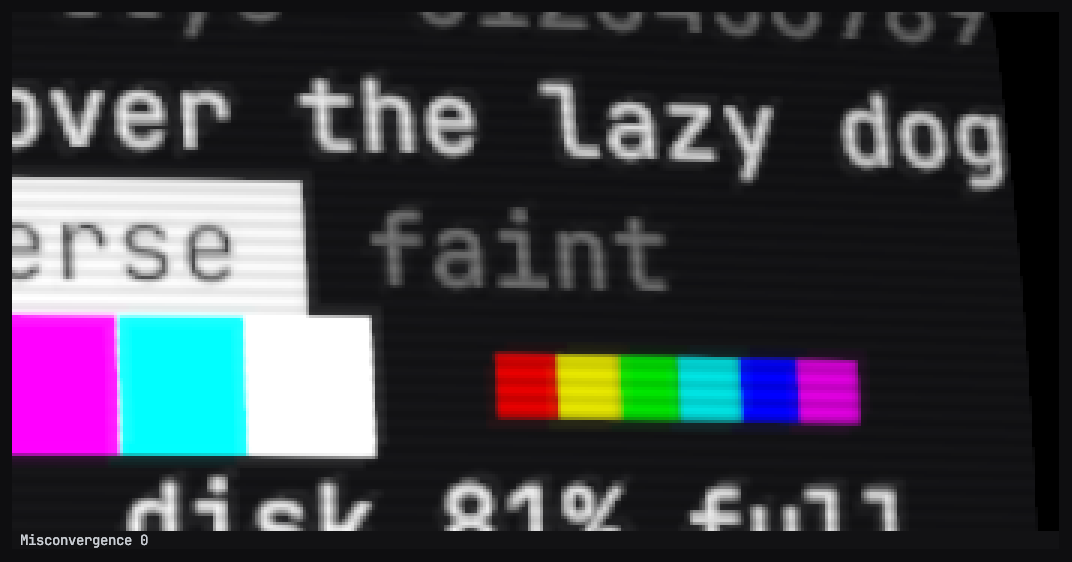
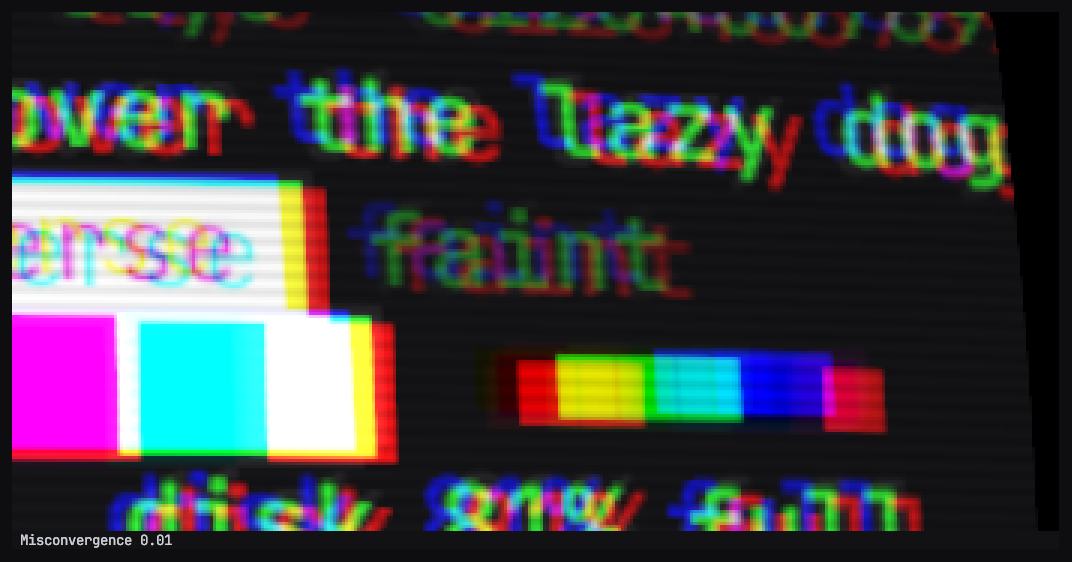
- Chromatic Aberration: red and blue fringes, nil at the center and widest at the edges. Misconvergence: a fixed misalignment of the three guns, growing toward the corners.
- Persistence: seconds a trail takes to fade behind the cursor and scrolling text, as phosphor keeps glowing after the beam leaves. A screen with it redraws every frame.
- Flicker: a subtle brightness wobble.
- Rolling Band: a dark band with a bright leading edge that rolls down the picture, as a tube’s refresh shows on camera. Rolling Band Speed is in screen heights a second, negative to roll upward; Rolling Band Width is its height as a share of the screen; and Rolling Band Distortion bends the picture sideways where the band passes.
- Screen Tint, Brightness: a phosphor color and overall level. Green or amber tint gives the monochrome-monitor look.
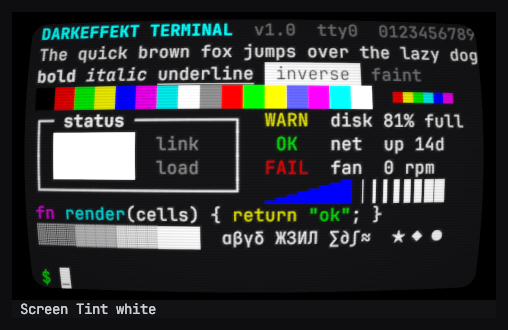
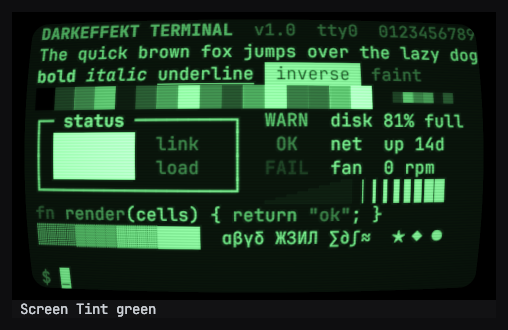
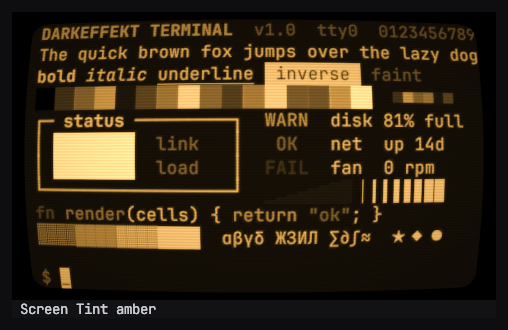
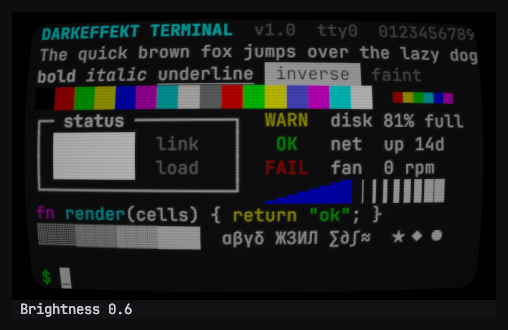
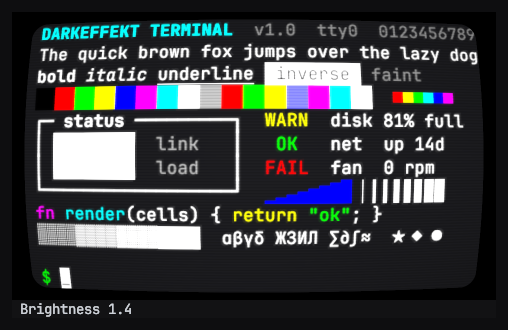
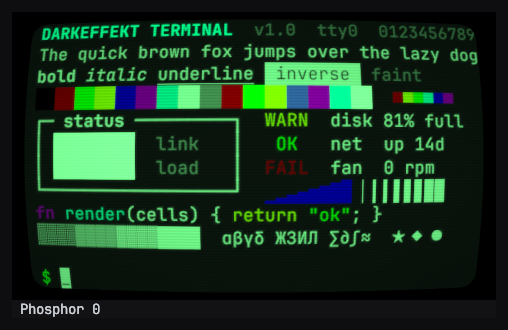
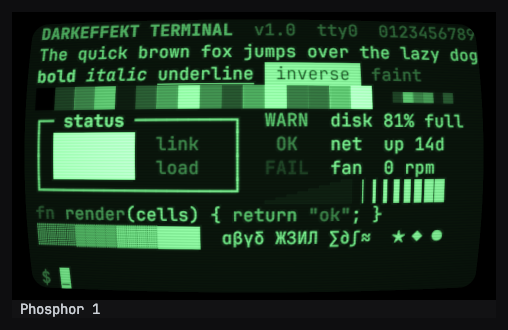
- Phosphor: draws the picture as a monochrome tube, its brightness lighting the tint’s phosphor with a hot core toward white, so colored text stays visible on a green or amber screen. At zero the tint multiplies the colors instead.
- Black Level: how gray the unlit screen reads under room light, in the tint’s hue.
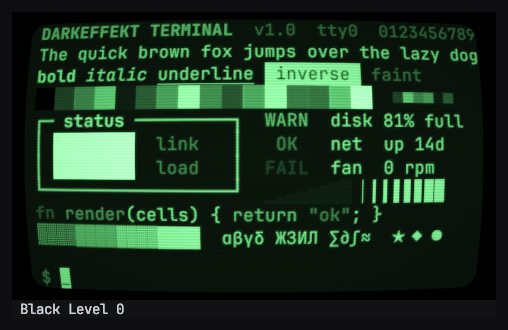
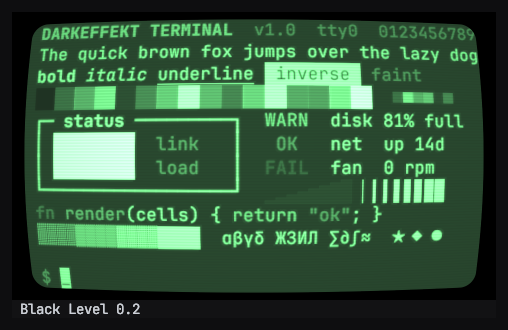
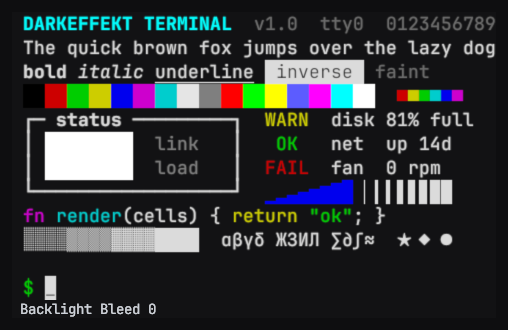
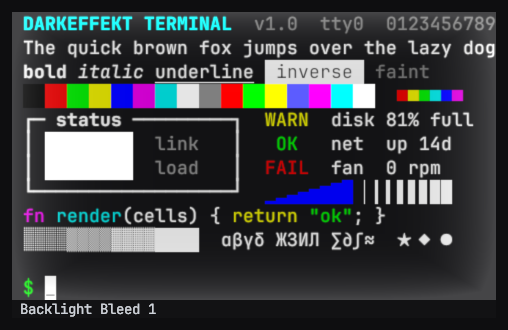
- Backlight Bleed: light leaking in at a panel’s edges and corners, visible on dark content.
- Burn-in Image, Burn-in: a faint ghost of the image, etched into the phosphor over the whole face, lit where the image is bright.
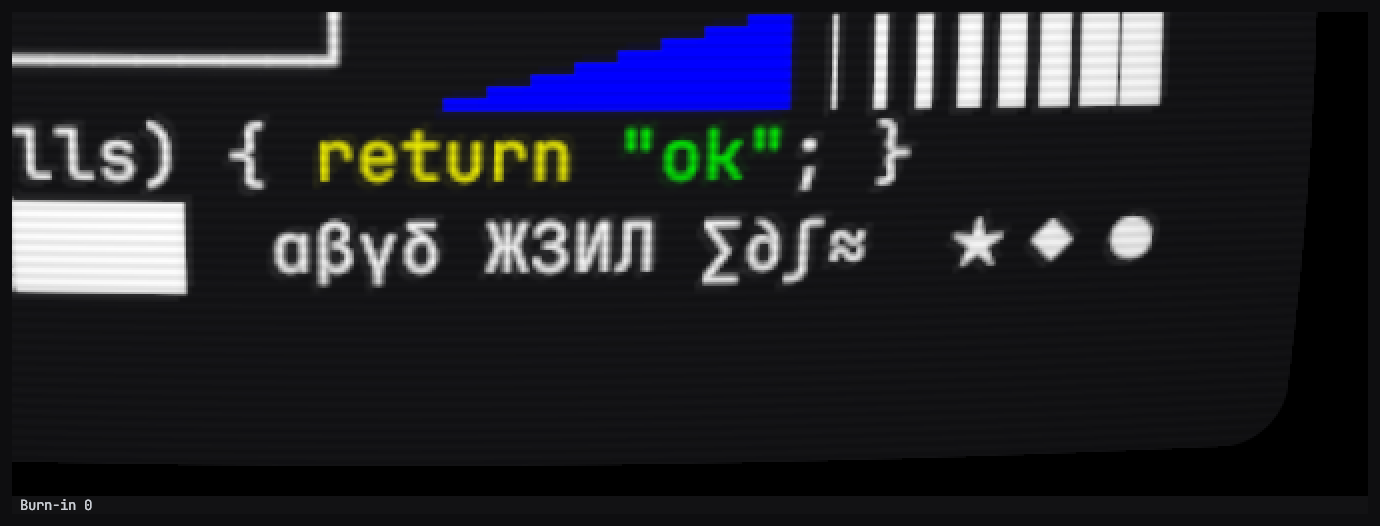
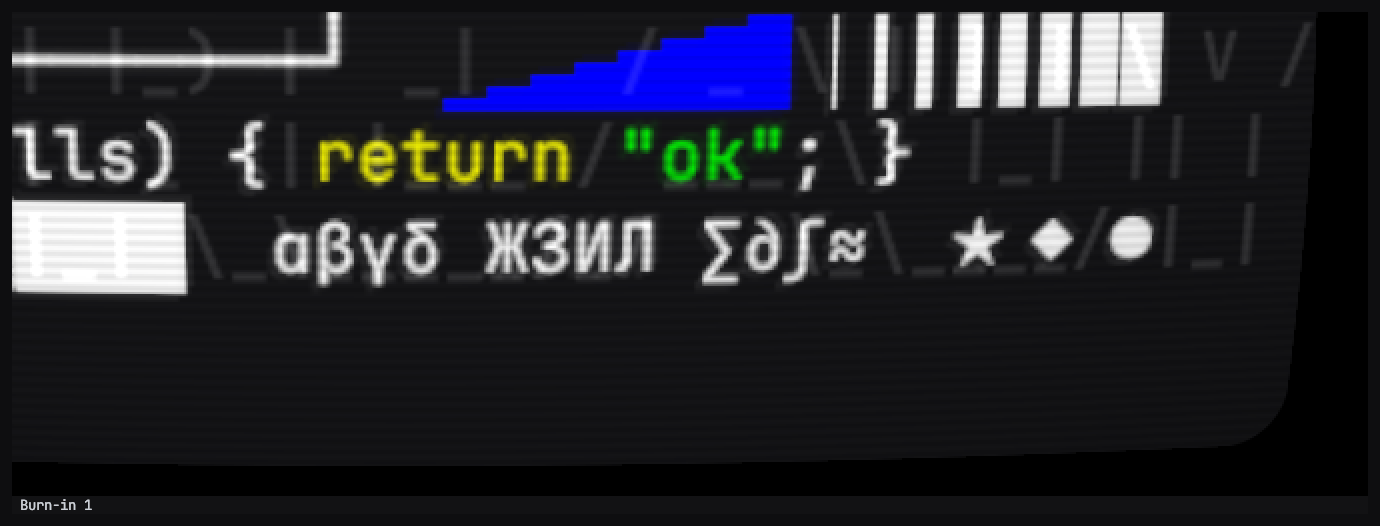
Power Style, Power On Seconds, and Power Off Seconds set how a screen of this type switches on and off from script: Tube collapses to a line and a dot, Fade suits a panel, and Cut is instant. See Screen behaviors.
Output Filter is the texture’s sampling: Point for a pixel-perfect flat view, Bilinear for a curved or distant screen. Use Bilinear with any curvature, and on a scene screen the camera sees at an angle or from across a room.
A screen material of your own
Section titled “A screen material of your own”A screen built into a model, such as a monitor behind lit glass, shows through a Shader Graph material of yours. Assets > Create > Terminal > Screen Material makes one, and a Terminal Screen (3D) whose mesh has none offers the same with a Create Screen Material button in its Inspector. The material is on the Terminal Screen Lit graph, in the package’s ShaderGraph folder: a Lit graph for URP and HDRP with the Terminal Screen sub graph wired to Emission, Normal, and Smoothness. Open the graph to build on it, or add the sub graph to a graph of your own, under Terminal in the Create Node menu, and connect its Emission to the Emission block, its Normal to Normal (Tangent Space), and its Smoothness to Smoothness, so the panel’s cracks tilt and roughen the glass. The Demo sample’s Terminal Monitor prefab is built this way.
- Put the material on the Terminal Screen (3D)’s mesh. The screen keeps it and feeds it the display, in Play mode and in the edit-time preview.
- Set Resolution on the Terminal Screen (3D): pixels across the screen. The session’s font size follows, so its columns and rows fill that width, letterboxed in the terminal background to keep their shape.
- Adjust the material’s Terminal Screen settings:
- Screen Rect: the part of the mesh UVs the picture fills, as min U, min V, max U, and max V; swap a min and max to flip that axis. Pointer hit testing maps through it.
- Glass Depth: how far the picture sits behind the surface, in screen widths.
- Brightness: multiplies the picture; above 1 feeds bloom. Under HDRP the picture is lifted against the frame’s exposure, so 1 shows it at face value in a dark room and in daylight alike.
- Glass Smoothness: the screen you are simulating: high for a tube’s glass, which reflects the room, and low for a matte panel. Cracks go rough whatever it is set to.
- Viewing Angle: how far the panel washes out off axis: 0 holds its picture from any angle, as an IPS panel does, and 1 goes gray, shifts its tint, and starts to invert from steeply below, as a cheap TN panel does. A tube keeps 0.
The node’s UV input defaults to UV0, and its Mask output is 1 on the screen and 0 off it. The screen type applies first, so a CRT type shows through the glass. The screen feeds the node its display and its crack map; a mesh screen with no such material shows the display on a plain unlit one, cracks drawn into the picture.
A UI screen hands the display to a material set on its Raw Image, as
_MainTex.
Input and selection covers driving the terminal.